El Nido Itinerary: Exploring Paradise in the Philippines
El Nido is one of the hottest (most popular) places to visit in the Philippines right now. It’s even more popular than Boracay. In this 5 day El Nido itinerary guide, I’5-daym going to show you how you can explore some of the Philippines’ most amazing islands and beaches.
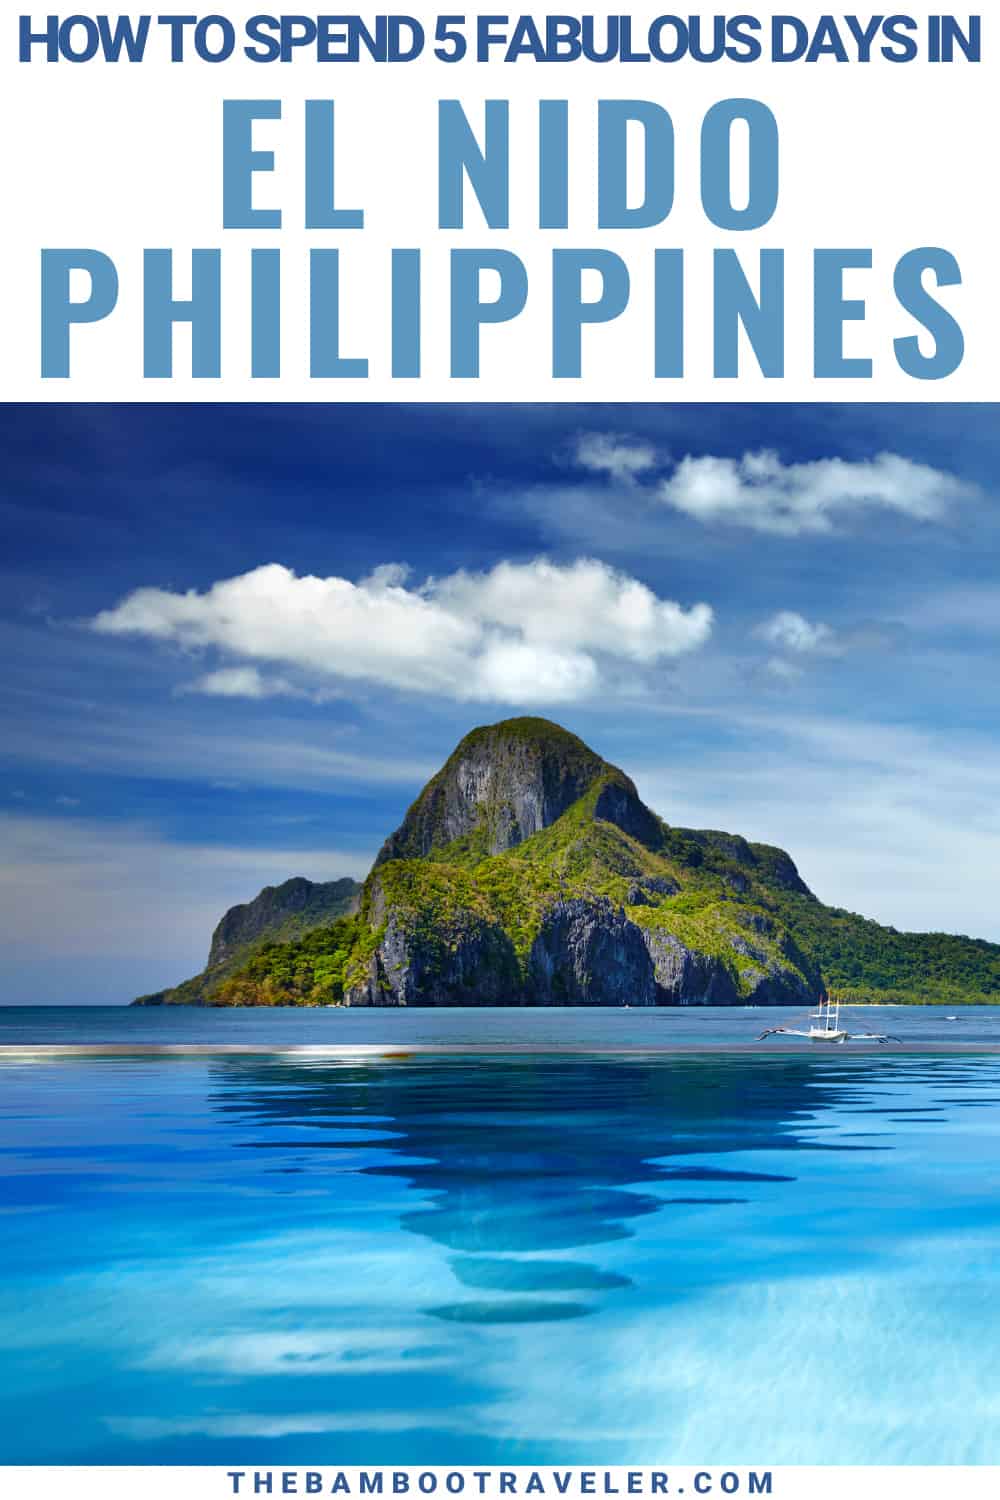
Situated on the west coast of Palawan island and only about 1.5 hours by plane from Manila, El Nido is famous for its stunning limestone islands with their hidden lagoons and secret beaches dotting Bacuit Bay. Imagine Halong Bay in Vietnam or Yangshuo in China but in the middle of the clearest and bluest water you’ll ever see in your life. THAT’S El Nido.
If you’re looking for where else to visit in this beautiful country, check out my 15 favorite destinations in the Philippines.
For a list of ALL my Philippines itineraries and travel info check out my Philippines Travel Guide page.
Disclosure: This post may contain affiliate links. As an Amazon Associate and a Bookshop.org Associate, I earn from qualifying purchases. Please see this website's Disclosure for more info.
In This El Nido Itinerary Post, You’ll Find…
About This El Nido Itinerary
You can do this 5-day itinerary in any order. Just take this itinerary as a suggestion in planning your own trip to El Nido.
El Nido Tours A, B. C, and D:
One of the most popular things to do in El Nido is the island hopping tours. These tours are called Tour A, B, C, and D. They go to different parts of the Bacuit Archipelago like to Secret Beach, Big Lagoon, Small Lagoon, etc.
Tour A is the most popular one followed by Tour C. I did both A and C.
I also did a tour of Sibaltan (don’t skip!), which is another area in Palawan. It’s harder to get to than the Tours A-D destinations. The Sibaltan Tour only takes place on certain days. When I was in El Nido it was on Sundays, Tuesdays, and Thursdays.
The tours can be quite tiring, so I recommend resting at one of the beaches around El Nido between tours. I’ve arranged these 5 days in El Nido so that you can rest between tours: Tour day – beach day – tour day – beach day – tour day.
How to Get Around El Nido
I’ll explain how to get to each of the beaches here, but overall you’ve got a few options. None of them are great. First, if you can, renting a scooter or motorcycle is the best. You can do this for around 300 pesos per day. BUT if you’re like me and can’t drive one, you can get around by tricycle (tuk-tuk), free shuttle bus (Lio Beach), or van (Nacpan Beach).
The free shuttle bus to Lio Beach leaves from this place (near Frendz Hostel).
Day 1: Island Hopping Tour A
Start your island-hopping adventure with Tour A. Yes, it’s the most popular tour and there will be an annoyingly large number of people.
However, you want to start with this one because the places you visit on this tour (Big Lagoon and Secret Lagoon) are the most unique and magical in all of El Nido.
Tour A Itinerary
These are the most common stops on Tour A:
- Big Lagoon – Brilliant and beautiful! This is the best part of the tour. Kayak through a lagoon (See above photo).
- Secret Lagoon – Cool! Wear water shoes here because you need to walk and swim over lots of rocks to a hidden lagoon.
- Shimizu Island – We went snorkeling here, but the coral was dead here so there weren’t that many fish.
- 7 Commando Beach – This is a beautiful beach with crystal-clear water.
- Payong Payong Island – My tour didn’t go here; instead, we went snorkeling at Advance Reef and saw quite a lot of colorful fish and coral.
Lunch on Tour A
Compared to the tours I’ve been on, the lunch was fabulous. We had fish, fruit, salad, rice, shrimp, and mussels. We had lunch on the boat.
Cost of Island Hopping Tour A:
These prices are as of April 2024:
- Tour: US$17 – $23 (depending on travel agency)
- Entrance fee to Big Lagoon: 200 pesos (US$3.54)
- Tourism Development Fee: 200 pesos (US$3.54) (a one-time fee that covers all tours for the next 10 days)
- Kayak rental: 300 – 400 pesos per kayak (US$5.31 – $7) – Pay this at Big Lagoon
- Snorkel and Mask Rental: 150 pesos (US$2.65)
The total cost of the tour can be up to US$34 – 39. Compared to prices in Europe, the U.S., and Latin America, this is inexpensive. However, compared to prices on Cebu (check out my Cebu Itinerary), it’s pricey.
How to Book Tour A
You can book your tour BEFORE you get to El Nido or AFTER you get to El Nido.
Make sure you’re booking with someone who takes safety seriously. I ended up getting my foot crushed in Mexico getting on a boat to go to some secret beach. The boat company didn’t care and I got no help from them. You also don’t want a tour where the guides are creepy and spend all their time flirting with the guests. That’s what happened to me on my tour in El Nido.
I like booking tours through Get Your Guide because they’ve always been responsive and helpful. If I’m not happy with the tour, I can leave a review and I can contact Get Your Guide. You can also read the tour reviews so that you know you’re getting a good tour ahead of time.
Klook is also a reliable booking agency. They often have discounts on tours.
If you want to book when you get to El Nido, book through your hotel. That’s what I did.
Day 2: Nacpan Beach
On the second day of your five days in El Nido, head to one of the best beaches near El Nido–Nacpan Beach. It’s a beautiful, long beach with clear water and nice soft sand. Nacpan Beach is located in Nacpan village, a dusty town with unpaved roads and a few shops and restaurants. The beach is surrounded by just a handful of hotels and hostels.
You have to pay an environmental fee of 50 pesos (US$1) to visit Nacpan Beach. Pay the fee when you arrive in Nacpan town.
How to Get to Nacpan Beach
You have two options without a motorcycle:
- Hire a tricycle for 1,200 pesos (US$24) round trip.
- Take a shuttle from El Nido. It costs 400 pesos one-way or 700 pesos round trip. Check Nacpan Beach Shuttle website for current times and pickup and dropoff locations. Another shuttle service, Discover El Nido, has more frequent times. Here is the pickup spot in El Nido.
It takes 30-45 minutes by public transportation to get to the beach.
Where to Hang Out at Nacpan Beach
When I arrived on Nacpan Beach (facing the ocean), there were crowds of people on the beach to the left, but the beach on the right was empty. Turn right and just keep on walking and you should find a beautiful spot all to yourself.
How’s the Swimming at Nacpan Beach?
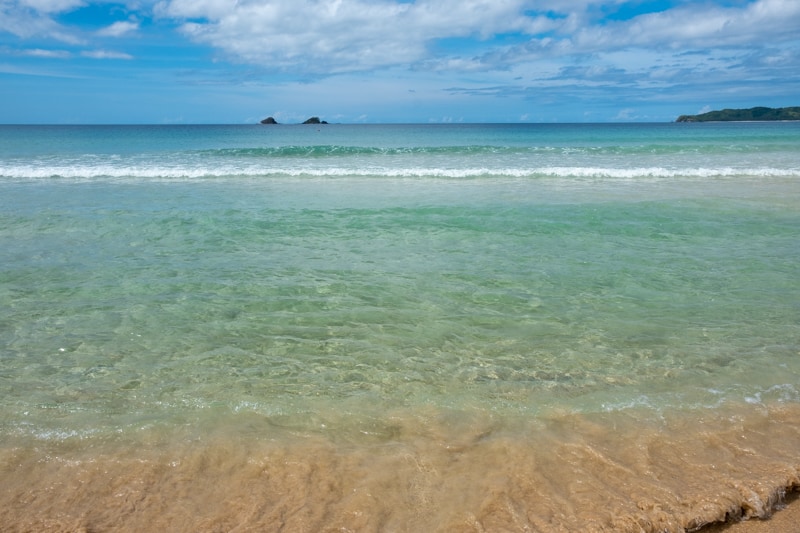
The water is as clear as a bathtub, but it’s also shallow, which is not ideal for swimming. When I was there, the waves were a bit rough in the morning, but then toward the end of the day, they calmed down.
Stay for the Sunset & Dinner
Make sure to stay to watch the sunset. It’s quite magical!
There are also places to eat on the beach. I had a pizza at Sunmei Restaurant. It was ok. They put tons of cheese on it but not enough sauce, so it was kind of bland. You can also have a bite and a drink at the infamous party hostel called Mad Monkey Hostel.
The last shuttle is at 7:00 pm, but double-check with the driver.
Day 3: Sibaltan Tour
The highlight of my time in El Nido was taking the Sibaltan Tour. Sibaltan is on the opposite side of Palawan from El Nido. It’s an untouristy and unspoiled section of the Palawan– it’s like visiting your own private slice of paradise.
This tour should NOT be skipped.
Sibaltan Itinerary
This was the Sibaltan itinerary:
- Snorkeled and/or kayak over a reef teeming with the most colorful and abundant fish I’d seen in Palawan. And you won’t have any other tour boats around you.
- Visited a deserted island with the second most beautiful sandbar you’ll see in the Philippines. The best one was Kalanggaman–visit my Malapascua itinerary to find out how to visit this island). The water is so warm and so crystal clear it’s like you’re swimming in a pool or a bathtub.
- Visited a primary school at a traditional fishing village. This was a great cultural experience that is a nice break from beaches.
This tour was very new and only one business was doing it. If you’re not going to do the 3-day or 5-day island hopping tour from El Nido to Coron I’d do this tour.
You can read all about the tour in my comprehensive guide to the Sibaltan Tour through Happiness Hostel.
If it’s too windy, though, the Coast Guard won’t allow the boat to go out or you might not be able to do the snorkeling part of the tour. I was lucky and we had calm seas.
How to Book the Sibaltan Tour
When I did the tour, it was only available from Happiness Hostel. You didn’t need to stay there to buy the tour.
The tour only took place on Sundays, Tuesdays, and Thursdays. It cost me 1,950 pesos (US$40) and the price included all forms of transport and lunch. The tour lasted from 8:00 am to 8:00 pm.
PRO TIP: Here's a list of essential items to pack for all of your island-hopping tours while in the Philippines:
- Dry bag - Your stuff will get wet while on island hopping tours so a dry bag is ESSENTIAL for the Philippines.
- Waterproof bag or pouch for your cell phone especially for your visit to such places as the Big Lagoon and the Secret Lagoon in El Nido and island hopping in Port Barton.
- Water shoes - It's important to have a pair because sometimes you'll need to be walking on rocks to get to your destination. You'll thank me later for bringing them.
- Sunscreen - You buy sunscreen in the Philippines, too, but it's pricey (500 - 700 pesos depending on the store--shop around!)
- Mask and snorkel - I recommend bringing your own mask and snorkel. If you're new to snorkeling, start with the full face mask and snorkel. That's what I did.
Day 4: Las Cabanas
I was pretty beat after every one of my Island Hopping adventures and needed a day to recuperate. So, I suggest taking it easy on day 4 and heading out to Las Cabanas (a.k.a Vanilla Beach) for some good R&R. An alternative is a visit to Lio Beach.
Las Cabanas is a great place to swim, relax on the beach, see a spectacular sunset, and grab a drink and a meal on the beach.
How to Get to Las Cabanas
The best way to get there is to take a tricycle from El Nido. It takes around 15 minutes. It cost me 150 pesos (US$3) one way.
When you get dropped off at Las Cabanas, you’ll see a shopping complex with a McDonalds. Just keep on walking through the corridor of the shopping mall until you get to the beach.
When you return, you can just pick up one of the very many tricycles that are waiting for customers outside of the McDonald’s at Las Cabanas (150 pesos). You can’t miss it.
What to Do at Las Cabanas Beach
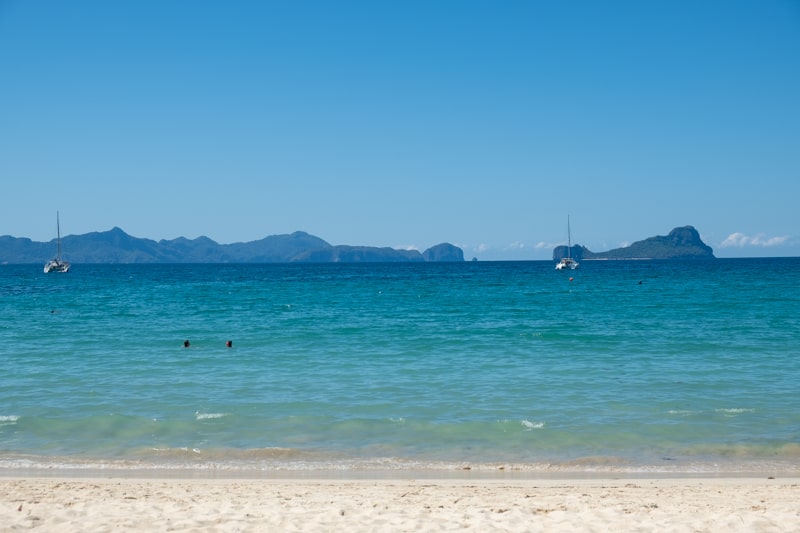
You can lay out your towel and swim on the beach right in front of the shopping complex. There are some beautiful views of the limestone rocks and islands of Bacuit Bay including Helicopter Island.
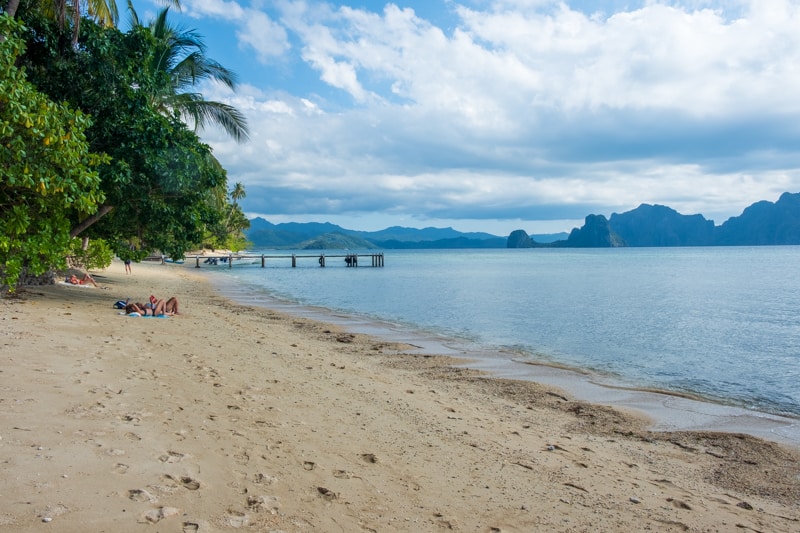
When you get to the beach, turn left and keep walking down the beach passing the ziplining and hotels. You’ll come to a fairly empty beach with some shallow water and few tourists. You can lay your towel down here or you can keep on walking, passing a bunch of rocks and a fancy hotel with its own dock for boats. Here you’ll come to an empty beach with a stunning view of the limestone islands and with some decent swimming.
Make sure to stay for the brilliant sunsets. While watching the sunset, grab a happy hour drink at Maremegmeg Beach Bar.
The sunsets at Sunsets at Las Cabanas are also spectacular.
After the sun has gone down, head to one of the restaurants at the shopping complex. I had an excellent meal at Local Provisions Kitchen and Mini Bar, which sadly closed down.
PRO TIP: When you arrive in the Philippines, you can buy a SIM card at the airport. There are 2 companies used throughout the Philippines: Globe and Smart. Each of them gives you 10 or 12 GB of memory for 30 days for 1,000 pesos (US$20). I used 2 GB in 30 days.
If you have to "add load" (add minutes or data) for some reason, you can do it at a convenience store around the Philippines. Tell them you want to "add load". You need to give the clerk your phone # to complete the transaction (I usually store my SIM card # in my Contact List).
BUT that's not it. You then need to register your phone. If you have Globe, dial *143#. I usually have the store clerk or someone at my hostel or hotel help me complete the registration. If you don't register after every time you add data to your phone, the minutes and data disappear.
Day 5: Island Hopping Tour C
If you’re staying for a fifth day, I recommend getting in one more island hopping tour and that is Tour C. I’m suggesting this one over Tours B and D because here you’ll visit some unique places and see some stunning limestone rocks and island scenery.
Tour C goes pretty far away from shore. When I did my tour, the sea was REALLY rough. It was so rough that the boat captain had to cancel some stops on the tour.
Here’s what you’re supposed to see on Tour C:
- Helicopter Island – snorkeling – the coral is dead so you’ll see very few fish
- Hidden Beach – This is probably the scariest and most interesting part of the tour – you need to swim and walk over huge rocks. If the ocean is rough, the waves can throw you upon the rocks. If you’ve got good guides they’ll help walk you over them.
- Talspay Island – Here you’ll have lunch on the beach and snorkel – but again the coral is dead, so there’s not much fish.
- Secret Beach – We couldn’t visit Secret Beach because the sea was too rough.
- Star Island – After Secret Beach, you’re supposed to go to Star Island, but we went to some reef for more snorkeling. I didn’t go snorkeling because it was too cold and windy.
How Much is Tour C?
- Cost of Tour: US$21 – $30 (includes transport, guide, and lunch)
- Eco-Tourism Development Fee: 200 pesos (if you did another tour, you don’t need to pay this as long as you STILL have the environmental fee pass)
- Entry Fee to Matinloc Shrine: 280 pesos
- Snorkel, mask, fins, and kayak rental fees: Varies
How to Book Your Tour?
You can book your tour before or after arriving in El Nido. I recommend booking through your hotel or through a third-party website like Get Your Guide, Klook, or Viator.
- El Nido Tour C Hidden Beaches and Shrine
- Island Hopping Tour C – Goes to Star Beach and NOT the shrine.
- El Nido Private Tour C
Extending Your El Nido Itinerary
A great way to extend your El Nido itinerary by 2 or 3 days is by staying on a remote “desert” island. I wish I had done this during my stay. I had booked this remote island getaway but had to cancel it after getting sick.
There are several choices. All of them are on the island of Darocotan. So, I guess it’s not really deserted. But the people who’ve done it say it feels like you’re the only ones on the island. Most have you stay in primitive bungalows and cost over US$100 without meals. I heard the meals are expensive, which is expected given the remoteness of the island and cost of transport.
Here are some popular places to stay:
The Island Experience – This island paradise experience gets rave reviews! Accommodations are basic bungalows. Rating: 9.0/10 | Check Rates & Book Your Stay: Booking.com
Dryft Darocotan Island – INSANELY COOL huts right on the beach. Rating: 9.4/10 | Check Rates & Book Your Stay: Booking.com | Agoda
PRO TIP: Before I went to El Nido, I was warned about the bad quality of water. Of course, don’t drink it, but also don’t even brush your teeth with the water. Don’t eat any food that hasn’t been cooked because it could have been washed in the contaminated water. I didn’t have any stomach problems (I did get sick with a respiratory illness, though) because I followed this advice, but I met a lot of people who got so sick that they ended up in the hospital.
El Nido Travel Guide & FAQs
How to Get to El Nido
Palawan may be the Philippines ’ most popular tourist destination at the moment, but it also has one of the country’s least developed road systems. Some locals and hotel owners told me it’s because Palawan’s corrupt governor siphoned off funds that were supposed to go to road construction. Some of the roads to popular destinations are still unpaved and some of its most beautiful places can only be accessed by motorcycle.
How I got to El Nido from Port Barton
I flew from Manila to Puerto Princesa, where I stayed for a few days. There’s a tour that takes you through an underground river.
Then took a shuttle to Port Barton. I bought my ticket through 12Go. I stayed for several days in Port Barton. You can check out my Port Barton blog post for ideas on what to do there. It’s worth visiting.
Finally, I took another shuttle from Port Barton to El Nido. I bought my ticket through 12Go.
How I departed El Nido
I took the ferry to Coron from El Nido. The water was very rough and it was really windy. I then flew from Coron to Cebu for the last leg of my Philippines itinerary. You can read about the Philippines itinerary around Cebu here.
You can get to El Nido by plane, plane + bus, or boat. Check flights on Skyscanner and ferry times on 12Go.
By Plane to Palawan
- Manila / Cebu – Puerto Princesa – (Port Barton) – El Nido: A cheaper way to get to El Nido is by flying from Manila to Puerto Princesa (US$50) and then taking a van to El Nido (550 – 700 pesos / US$11-$14). The van takes 5-6 hours. You can also insert a stopover for a few days in the lovely and remote beach town of Port Barton (600 pesos / US$12).
- Manila / Cebu – El Nido: You can fly from Manila or Cebu directly to El Nido. BUT flights are pricey. US$130-$175
- Manila / Cebu – Coron – El Nido: An alternative is to fly into Coron (US$70) and then take a ferry to El Nido (1,800 pesos / US$36 – buy a ticket from Isla Expeditions on Serena Street). Coron is one of the best places for diving in the Philippines as it’s home to many shipwrecks from WWII.
By Boat to Palawan
- Manila – Puerto Princesa – El Nido: The boat from Manila leaves each Friday at 7 pm. It takes 24 hours and costs 2,689 pesos (US$54) for tourist class. You can then take a van to El Nido.
- Manila – Coron – El Nido: Another popular way to get to Coron is by ferry. The ferry leaves Manila every Friday at 7 pm. It takes 11 hours and costs 1,400 pesos (US$28) for tourist class.
For info on how to get to/from the airport in Manila, check out my First-Timers’ Guide to Getting Around the Philippines.
You can also find out more info on getting to and from El Nido in my Port Barton post.
Where to Stay in El Nido
Finding a place to stay in El Nido has its ups and downs depending on what your budget.
For budget backpackers, there are lots of stylish, hip places to stay like Happiness Hostel. Unfortunately, they’re rather noisy—loud music until late at night making it hard to sleep.
If you’re a mid-range traveler, you’ll have a hard time finding a decent place that’s clean, comfortable, and not too noisy. You might want to try private rooms in hostels. They are usually around US$50/night.
However, if you can afford some luxury, you’ll find loads of unique choices.
There are 4 areas to stay in around El Nido:
- El Nido town – Noisy but convenient and has decent choices for all budgets. Lots of restaurants.
- Nacpan Beach – Quiet with a nice beach but far from the restaurants and nightlife of El Nido. Amazing luxury hotels but horrible budget and mid-range hotels.
- Las Cabanas – Great sunsets but not many choices on places to stay
- Corong Corong – Sunsets are great but the beach isn’t great for swimming. However, lots of choices of places to stay.
I stayed at a few places in El Nido. However, if I ever returned to El Nido, I’d stay at Nacpan Beach.
Best Places to Stay in El Nido Town
El Nido town is a convenient but VERY noisy place to stay. Expect lots of partying. Try to get as far from the main strip (a block from the beach) as possible if you want some quiet.
You will find some very good places to stay here for those on a budget and those looking for a place under US$100.
This is the BEST area for food. You’ll find lots of great restaurants.
Unfortunately, the beach isn’t great. You wouldn’t want to swim in the water
Happiness Hostel ($) I stayed here. The hostel has a friendly staff, clean rooms, comfy pod beds, but it gets noisy until midnight. The common area is small and at night it turns into a party. There’s no WiFi in the rooms because management says people watch Netflix and keep others awake. I probably wouldn’t stay here again. (Agoda | Booking.com)
Spin Designer Hostel ($-$$) – Highly rated boutique hostel with dorms and private rooms. Great location that’s far enough away from the loud music and partying. RATING: 9.0/10 | CHECK RATES & BOOK YOUR STAY: Hostel World | Booking.com | Agoda
Chislyk Inn ($$) – AMAZING views and an AMAZING location! RATING: 9.1/10 | CHECK RATES & BOOK YOUR STAY: Booking.com | Agoda
H Hotel El Nido ($$$) – This fabulous hotel is in a prime location with prime views of Bacuit Bay. RATING: 9.2/10 | CHECK RATES & BOOK YOUR STAY: Booking.com | Agoda
Places to Stay on Nacpan Beach
I loved the secluded Nacpan Beach. Unfortunately, it doesn’t offer many good places to stay if you’re looking for a quiet place under US$100. Now for those who can afford some luxury, you’ve got several hotels right on the beach to choose from.
Nacpan Beach Villas ($$$) – I love the location of this beautiful hotel—right on Nacpan Beach! Charming bungalows with outdoor terraces. Rating: 9.6/10 | Check Rates & Book Your Stay: Booking.com | Agoda
Nacpan Beach Glamping ($$$) – Great location and a FUN place to stay! Rating: 8.6/10 | Check Rates & Book Your Stay: Booking.com | Agoda
Places to Stay at Las Cabanas Beach
Las Cabanas is a nice beach, but it has many good places to stay. There’s a hostel called Lexias Hostel and Workspace, but reviews are pretty bad.
Seaview Villas ($$$) – Beautiful views; located in the mountains with beautiful views of the ocean; there’s a swimming pool. Rating: 9.0/10 | Check Rates & Book Your Stay: Booking.com | Agoda
Places to Stay on Corong Corong Beach
When I was in El Nido, Corong Corong was the place you stayed at for cheap accommodations. However, recently it’s increased in popularity since the Pandemic. The beach isn’t one that you can swim in but there are some nice views and FABULOUS sunsets. To get to El Nido town, you’ll need to take a tuk-tuk.
Outpost Beach Hostel ($) – It’s a party hostel, but the views and sunsets are so STUNNING that I’d consider staying here. Rating: 8.9/10 | Check rates & book your stay: Hostel World | Booking.com | Agoda
Corong Beach Resort ($$) – A RARE gem for those looking for rooms right on the beach for less than US$100! Comfortable and clean! Rating: 9.3/10 | Check rates & book your stay: Booking.com | Agoda
Buko Beach Resort ($$$) – BEAUTIFUL location AND BEAUTIFUL views! Hotel has a pool. Rating: 9.2/10 | Check rates & book your stay: Booking.com | Agoda
PRO TIP: No one likes to think about insurance, but accidents do happen. I highly recommend getting travel insurance. During my travels over the past 2 years, I've been using SafetyWing for my insurance. They're very affordable for all ages, and digital nomads can use their insurance long-term.
Where to Eat in El Nido
El Nido has some good restaurants for western and vegetarian food. Expect to spend at least 350 pesos per dish (US$7), which is more expensive than other destinations in the Philippines (250 pesos (US$6).
I wasn’t able to find very good Filipino food, though. I ate at two places and although the food is cheaper (150 pesos
If you want to get drinks, El Nido has lots of Happy Hour deals at two for one drinks (200 – 250 pesos). Rum and cokes are especially cheap at around 60 pesos.
Here are the restaurants I tried while in El Nido. I recommend getting the pork tacos at the Hub (look for Frendz Hostel).
- Happiness Café – vegetarian restaurant – excellent food, but very pricey; try the falafel sandwich; their breakfasts are fun
- Art Café – Italian (pizza, pasta) – this restaurant is expensive, the menu is uninspiring, the service is unfriendly, and the food is just not good; the ONLY reason you should go here is for their fast WiFi. They have THE best WiFi in El Nido
- taste – Vegan restaurant – I went here for breakfast – I had the muesli and it’s just about THE best muesli I’ve ever had in my life – expect to pay at least 300 to 400; it’s pricey and their WiFi is unreliable
- Tuk Tuk Thai – thai food of course – not good food at all; skip this place; expect to pay at least 350 for a dish
- Chicken Schwarma place – I don’t remember the name of the place; it’s on Serena Street; the food is good; it’s food to go
- Angel Wish – I didn’t eat here, but my friend did and raved about the seafood and the price; It was always busy, busy, busy when I walked by
- IBR Restaurant – Filipino food – My first and last taste of sisig; not good but price was decent
- Silog Republic – when you’re walking by this place, the barbecue chicken looks good and the price is decent, but the food isn’t inspiring
When to Visit El Nido
End of November – Beginning of March – It’s the coolest time temperature-wise; you might experience occasional rain showers and rough seas at times while other times things will be dry and calm; I was there at the end of January and it was hot in the morning and early afternoon and then it sometimes got cool and windy in the late afternoon, making swimming in the ocean uncomfortable; you’ll see lots of Europeans tourists
End of March – May: the driest season; Filipinos like to come here at this time; the weather is hot but the sea is calmer and you don’t have to worry about monsoon rains
June – Beginning of November: monsoon season; prices drop and seas become rougher and there are frequent rain showers
Final Thoughts on El Nido Itinerary
El Nido is a fascinating destination. You’ll have so many one-of-a-kind experiences—remote islands, colorful tropical fish, secret lagoons, and hidden beaches. I am sure you will have an adventure of a lifetime.
For a quick jump back to different parts of this Eli Nido Itinerary:
- About This El Nido Itinerary
- Day 1: Island Hopping Tour A
- Day 2: Nacpan Beach
- Day 3: Sibaltan Tour
- Day 4: Las Cabanas Beach
- Day 5: Island Hopping Tour C
- Extending Your El Nido Itinerary
- El Nido Travel Guide & FAQs
Feel free to leave your questions here or tell me about your own experiences in El Nido!
Best Resources for Planning Your Trip to the Philippines
Book Your Flight to the Philippines
Use Skyscanner to find the cheapest flights to the Philippines. They will turn up results for all airlines including major ones and local airlines. You’re going to find EVERYTHING that’s available and thus get the cheapest price.
Book Your Accommodations for the Philippines:
The best hotel booking sites for the Philippines are Agoda and Booking.com. Both sites have the biggest selection, and they consistently churn out hotels and hostels at the lowest prices of any other booking site. Another website for backpackers and budget travelers is Hostel World.
Book Your Tours for the Philippines:
The three best tour booking sites for the Philippines are Viator and Get Your Guide. Viator has the biggest selection. Get Your Guide has terrific customer service. They will help you if you have trouble with your tour, especially if the tour company cancels your tour or doesn’t show up. I also like using Klook for booking tours in Southeast Asia.
Buy Your Ferry and Shuttle Tickets for the Philippines
Check ferry and shuttle schedules and buy your tickets on 12Go. It saves you from having to trek all the way to the ferry terminal or bus station to buy your ticket.
Stay Connected When in the Philippines:
To have access to the internet while you’re out and about in the Philippines, get a physical SIM card or an eSIM. I was very happy with the eSIM that I used from Airalo, so I can highly recommend them. Their instructions weren’t the most user-friendly, but the eSIM worked as well as any physical SIM card I used.
Are you on Pinterest?
Hey! How about saving one of these pins to Pinterest to read for later?
And feel free to follow me on Pinterest, where you'll find lots of travel articles for everywhere around the world.
More Travel Guides for the Philippines:
- Learn how to take public transportation and a Grab and taxi around Manila - First-Timers Guide to Getting Around Manila
- Manila Itinerary: 2 Days Exploring the Culture and History of Manila - In this guide, you'll get a detailed step-by-step itinerary for seeing the sights in Manila.
- Port Barton Itinerary: What to do for 3 Days in Port Barton - Find out how to discover the most beautiful beach in the Philippines.
- One of my favorite experiences in the Philippines was an island-hopping tour of Sibaltan. Get the details here: Sibaltan Tour: Finding Your Secret Paradise in Palawan, Philippines
- El Nido Itinerary: An Adventure of a Lifetime - Learn where to go, what to eat, where to see, and of course, what to do in El Nido.
- Bohol Travel Guide: Exploring the Natural Wonder of the Philippines will tell you exactly what to see and do in Bohol, how to get there, where to stay, and much, much more!
- Siquijor Itinerary: Exploring the Island of Fire will give you the skinny on everything you need to know to travel to Siquijor.
- Malapascua Itinerary: Plan Now! Go Later! will help you plan your trip to Malapascua and Kalanggaman Islands.
- Find out what my 15 favorite places to visit in the Philippines are.
- Solo Travel Guide for the Philippines will give you some pointers on how to best travel solo in the Philippines cheaply and safely and still have a kick-ass time!













What a comprehensive guide to a beautiful part of the world! I look forward to visiting some day, to take in the stunning sights and experience the culture.
El Nido looks beautiful! Would love to visit!